
Getting started
To get started with Demo Time, you need to install the extension in Visual Studio Code. You can find the extension in the Visual Studio Code Marketplace.
You can install the extension via the following link:
Install the extension
Or you can search for “Demo Time” in the extensions panel in Visual Studio Code.
Demo Time Terminology
Terminology reference
Demo Time uses a theatrical structure to organize your demos into manageable, narrative-driven presentations. Understanding this hierarchy will help you build more effective demos:
Play
Your entire demo project (.demo folder). Contains all the Acts and assets you need for your presentation.
Act
A single demo file (*.yml or *.json) focusing on a specific topic. You can have multiple act files to split your demos into logical sections.
Scene
A single demo section that contains one or more moves. Scenes help you group related actions together.
Moves
Individual steps inside a Scene that execute in order to perform a clear action, such as:
- Move 1: Show text introduction
- Move 2: Open code file
- Move 3: Highlight code block
Initialize the extension
Once you have installed the extension, it is time to initialize it in your project where you want to use it. You can do this by opening the Demo Time panel in Visual Studio Code. There should be a Demo Time view available in which you find the Initialize button.
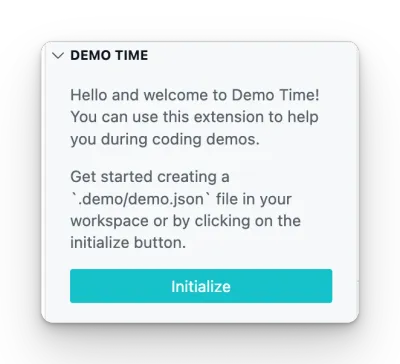
Once you clicked on the Initialize button, the extension asks you if you want to start with a sample act file or create an empty act file. You can choose either option.
Typical flow of a Demo Time session
- Script your moves (in one or more act files)
- Mix code walkthroughs with slides — all in VS Code (if you want or use PowerPoint, Keynote, etc. for your slides)
- Test out the flow
- Use
presentation modeto automatically advance (vs clicking manually) with the keyboard shortcuts (→) or right arrow on your clicker - Stay focused while Demo Time handles the flow
Think like a presenter, not just a developer
Demo Time works best when you think of your presentation as a journey:
- What do you want the audience to feel or understand?
- Where should you pause, explain, highlight, or run code?
- What steps are essential vs supporting?